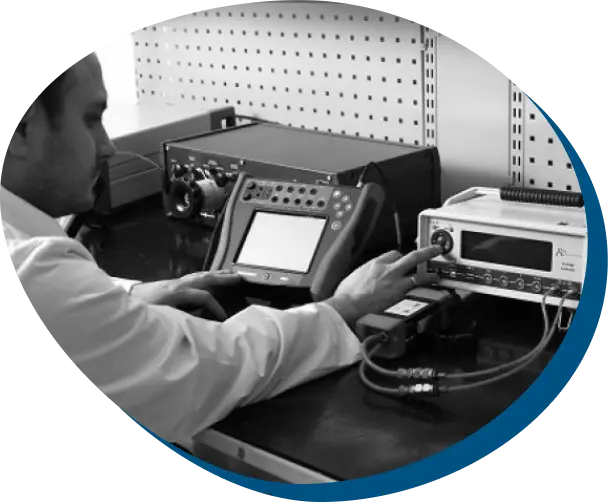


Our reference standards are traceable to the International System of Units. In-house calibrations are performed in our state-of-the-art, environmentally-controlled metrology laboratory, which allows us to offer minimal measurement uncertainty for your sensitive standards and instruments.


There are three main reasons for having instruments calibrated:
To ensure readings from an instrument are consistent with other measurements.
To determine the accuracy of the instrument readings.
To establish the reliability of the instrument i.e. that it can be trusted.


Our state of the art laboratory features the highest quality primary reference standards, allowing us to offer the ranges and capabilities our customers demand.
| Sr No. | Content | Value |
|---|---|---|
| 1 | Temperature | -196ºC (at fixed temp.) -95ºC to 1200ºC |
| 2 | Relative Humidity | 10%RH to 95%RH |
| 3 | Pressure | -1bar to 2000 bar |
| 4 | Mass | 1 mg to 600 kg |
| 5 | Volume | 10µl to 20 ltr |
| 6 | Torque | 1 N-m to 1000 N-m |
| 7 | Sound | 74dB, 84dB, 94dB, 104dB, 114dB@1kHz |
| 8 | Gas Flow | 0.5 SLPM to 4000 SLPM |
| 9 | Liquid Flow | 0.5m³/hr to 240m³/hr |
| 10 | Length | 1µm to 1000mm |
| 11 | Electro-Technical | DC Voltage, DC Current, AC Voltage, AC Current, DC |

